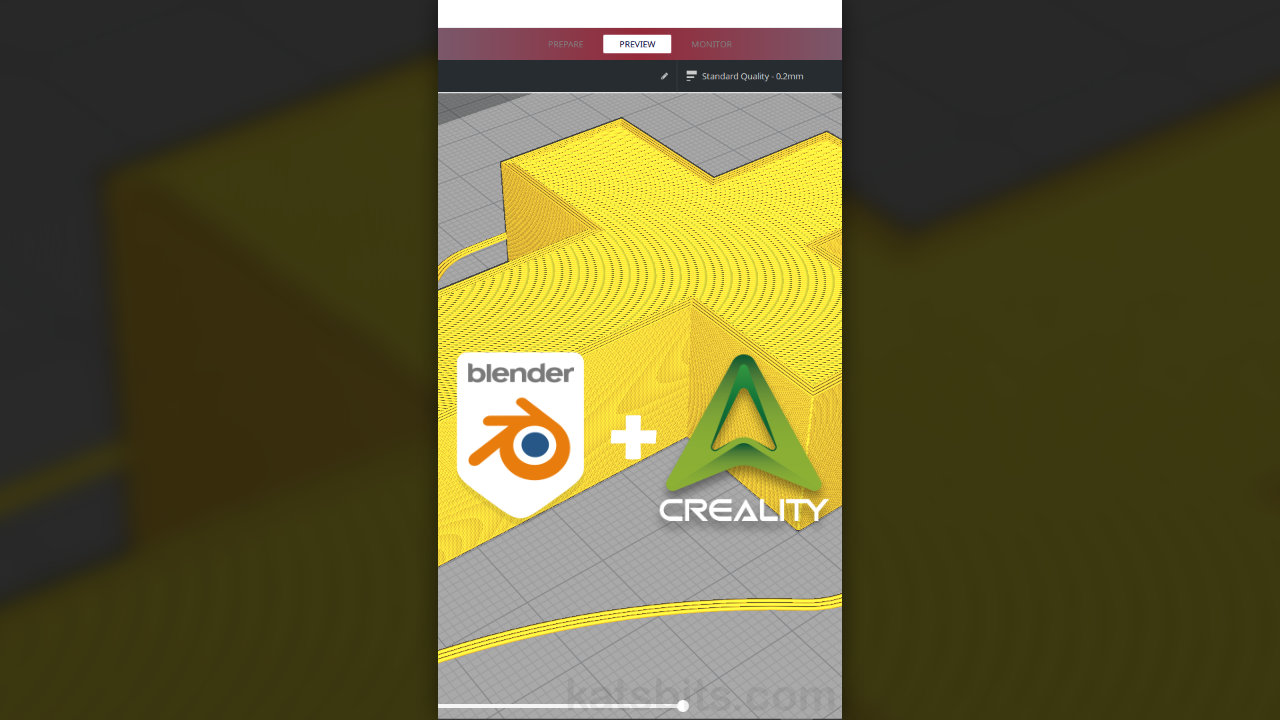
3D Printing & Blender – Crucifix
Table of Contents
Description
In this exercise we take a look at using Blender 3D to model a crucifix for 3D printing. First, the scene needs to be set up to match the 3D printers units of measurement, millimetres. Next, the default scene cube is extruded into shape, an object that’s effectively 80 mm high, 60 mm wide and 20 mm deep (8 x 6 x 2 cm). The crucifix is then exported as an *.stl file, no materials or UVs needed, and imported for printer prep in Creality Slicer. Here, the mesh is upscaled, positioned and sliced before export as a printable *.gcode file.
Duration: total c. 35 mins (00:35:00).
Info: 720p (720 x 1280 vertical/portrait).
Suitability: Beginner+.
Source: KatsBits – Crucifix (c. 2.5 MB | *.blend, *.stl, *.gcode). Alternative download: Creality Cloud.
Product ID: n/a.
Design note: some additional considerations when modelling meshes in Blender for 3D printing;
Scene Scale
Blenders default scaling is generally excessively large for 3D printing so scenes typically need adjusting to be practicable. In doing this however, objects may import into print slicers with reduced scaling, which should be straightforward to correct if the slicer provide tools or options to modify imported object size, rotation and location [1] – this is why it’s important for scaling to match between apps to ensure size adjustments correspond between 1:1 [2], i.e. a 1000x adjustment to scale a 2 mm object should upscale to exactly 20 mm (2 cm) if units have been set up correctly in Blender.
Ensuring the units of measurement in Blender correspond to the 3d printer means any adjustment [1] made during slicer prep modify objects 1:1 – shown above, scaled up 1000x the object matches the slicers sizing exactly [2].Simple vs Subdivision
Generally speaking meshes to be 3D printed typically need to be high-resolution, usually using the Subdivision Surface modifier, to ensure curved or rounded surfaces are as smooth as possible (no structural faceting unless designed that way). However, axial, linear and regular shaped objects may not need this treatment so it might be possible to export a very simple, low resolution, mesh for 3d printing. There are no specific rules to determine whether a low or high resolution mesh so some degree of testing is likely necessary to see how each affects print time, medium use etc.
Depending on the object it may be possible to use a low resolution mesh but some tests may be necessary to check – shown above; left is a simple version of 26 faces/52 triangle, right is 96k faces/192k triangles, both ‘slice’ the same for 3d printing (same print time and medium use).
Timestamps
Times are approximate;
– 00:00 : Overview & Setup
– 04:00 : Crucifix Low Poly
– 08:00 : STL & Slicer Prep
– 18:00 : Crucifix High Poly
– 23:00 : STL & Slicer Prep


