Animated Poses for IMVU
Table of Contents
Description
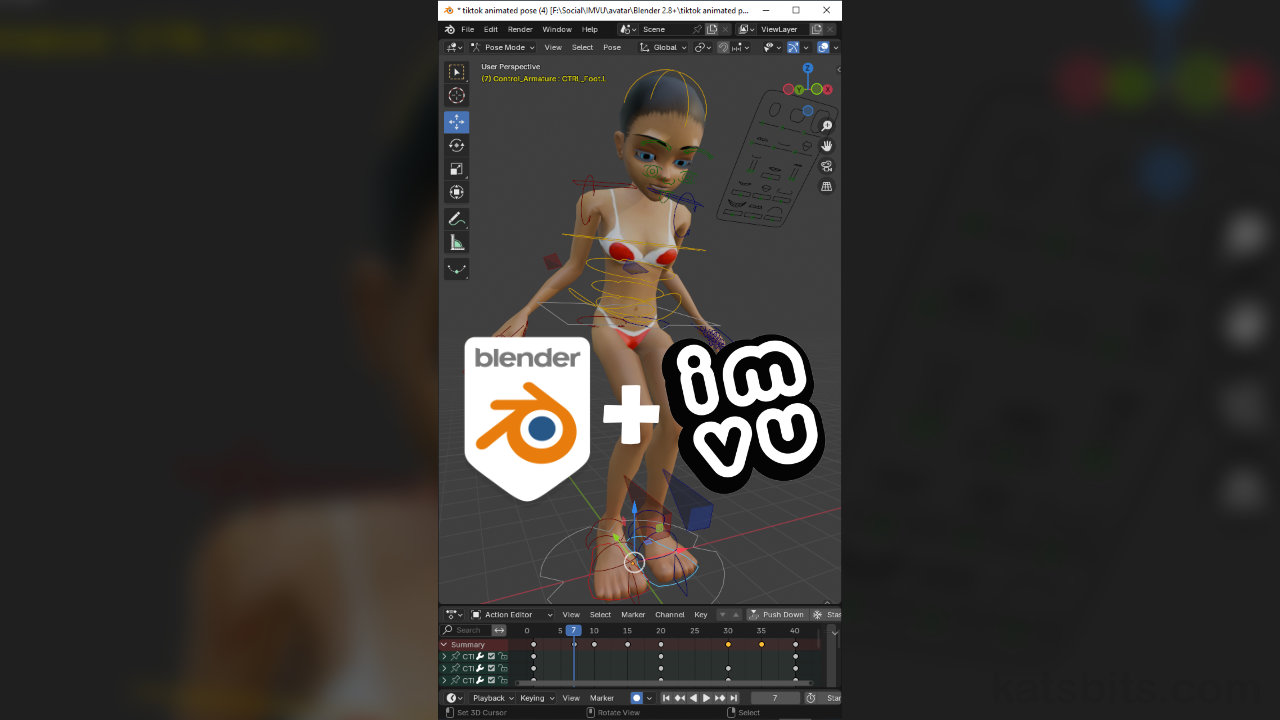
In this exercise we continue the TikTok Live Stream series by making an animated avatar pose using IMVU Studio Toolkit’s Animation Tool. First, an instance of the rigged avatar is added and Auto Key enabled to ease the process. With Action Editor timeline scrubber at frame one we can switch to Pose Mode and make an initial pose and then a series of additional poses at different frames to create a sequence. Once this is done it can be exported and assembled in IMVU Studio using the Empty Mood (PID 10945930) to verify functionality.
Duration: total c. 40 mins (00:40:00).
Info: 720p (W: 720 x H: 1280).
Suitability: Beginner+.
Source: KatsBits – TikTok Animated Poses (c. 1.5 MB | *.blend, *.fbx).
Product ID: TikTok Anim (68932302).
Design note: some additional considerations to keep in mind when making animated avatar poses using the Toolkit for Blender;
Animation Basics
As discussed in the tutorial, animated avatars poses and animated items in general, at their most basic are simply a set of ‘static’ poses marked at strategic locations along a timeline [1]. When the sequence then runs, Blender and IMVU essentially morphs or blends between frames (‘Tweening‘ – ‘in between’), the difference or change thus creating the sense of motion seen. In other words, ‘animation’ is actually the morph or change between one fixed pose and another. What this then means in practice is that it’s not necessary to mark a pose to the timeline at every frame, rather only ‘key’ or strategic frames,’keyframe/s‘, need to be marked, typically at the apex of an action – the height of a jump, feet landing on ground and so on – or when the sequence needs to ‘guide’ motion or movement in a certain way.
Aside: allowing the program to morph or blend between distanced poses also reduces the risks of ‘jitter’, an artefact caused by minute differences as frames are rendered – jitter can be difficult to remove when every frame of a sequence has been marked with pose data.
Animations do not necessarily need an avatar pose marked to each frame, rather they should be placed at strategic locations [1] that allow Blender/IMVU/et al to automatically ‘blend’ or ‘morph’ between them, thus creating the sense of motion seen.Primary/Secondary Poses
As a general rule-of-thumb, a typical sequence will comprise a set of primary poses marked [2] that define the main action or movement [3], for example a take-off and/or landing pose, and an apex-of-a-jump pose. These initial poses might then be augmented by marking at least a secondary or ancillary set of poses [4] that define complimentary motion [5], for example feet staying on the ground until legs are fully extended as the avatar jumps, and/or the hands remaining in the air longer as the avatar drops back to the ground.
A ‘primary’ keyframed [2] pose establishes the main or obvious characteristic of a sequence [3]…
… that complimented by secondary or ancillary poses [4], helps to establish a firm sense of movement [5] as the action plays through each marked pose.


Timestamps
Times are approximate;
– 00:00 : Overview
– 03:00 : Primary Poses
– 13:30 : Secondary Poses
– 20:00 : Face Morphs
– 27:00 : Prep & Export
– 30:00 : Studio Assembly
