Style3D Atelier – Weight Painting in Blender
Table of Contents
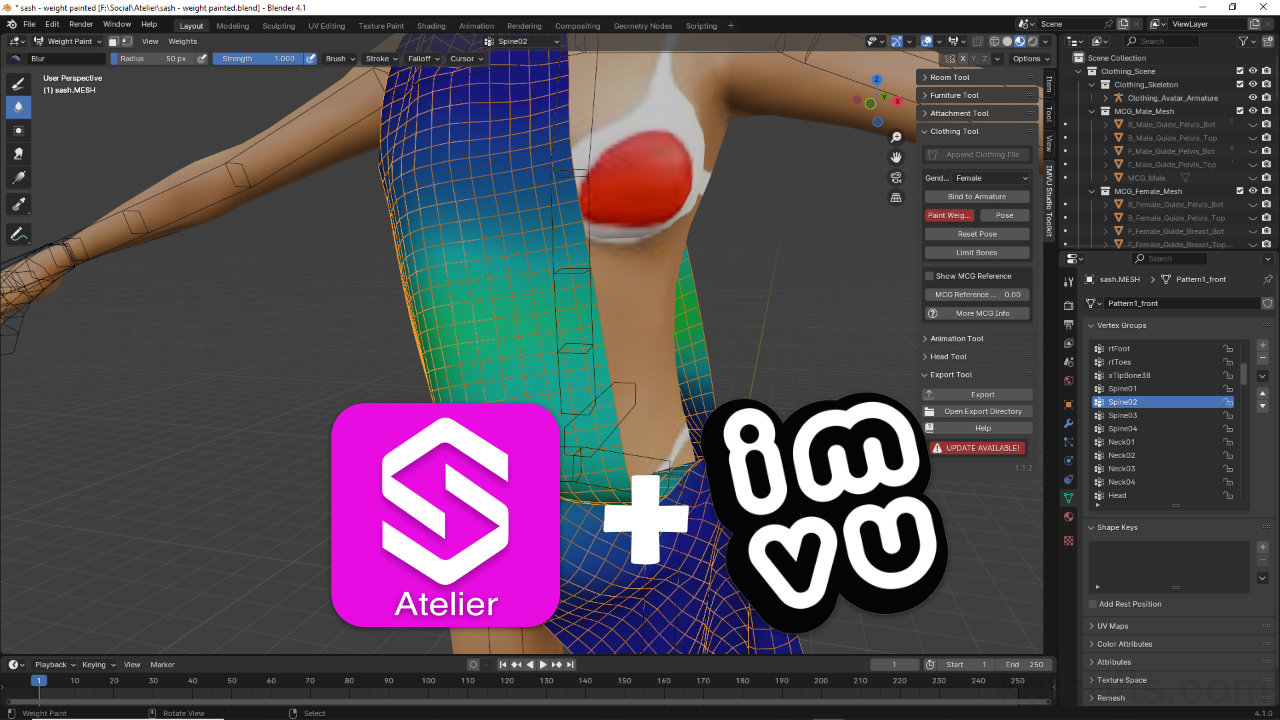
Description
In this exercise we take a look at weight painting a simple clothing item, a sash made in Atelier, using the IMVU Toolkit for Blender. Once the garment has been exported from Atelier to FBX, then imported into Blender for prep, its brought into a Clothing Tool project for weight painting and export for IMVU. Here, using the tools options, the sash has to be attached to the avatars armature using Bind to Armature) before Vertex Groups selections are made for colour/weight adjustment. Once done the sash and avatar body parts, torso and hips, are exported for import and assembly in IMVU Studio.
Duration: total c. 25 mins (00:25:00).
Info: 1080p.
Suitability: Beginner+.
Source: KatsBits – Sash Weight Painting (c. 13 MB | *.blend, *.fbx, *.png).
Product ID: Sash United (68519582).
Design note: fgdfgdf
Vertex Groups
When binding a mesh to the avatars skeleton (Bind To Armature) the Toolkit will generate vertex groups based on all the available bones, useable included, i.e. the various ‘xTip‘ bones that sit at the end of each bone chain (fingers, legs and head). Typically these should not cause issues but can be removed out of hand before weighting. They are;
- xTipBone66 (right thumb)
- xTipBone70 (right index)
- xTipBone74 (right middle)
- xTipBone78 (right ring)
- xTiprtFingerne82 (right little)
- xTipBone87 (left middle)
- xTipBone88 (left thumb)
- xTipBone89 (left index)
- xTipBone90 (left ring)
- xTiprtFingerne83 (left little)
- xTipBone38 (right foot)
- xTipBone86 (left foot)
- xTipBone33 (head)
To remove, with mesh selection made in Object Mode, and the Vertex Groups aperture visible in Object Data Properties, click an entry to highlight a group to be removed [1], then click the – [2] Remove Vertex Group (minus) button upper right of the sub-panel. The group will be deleted alongside any weighting or influence it has on the mesh.
Aside: this same procedure can also then be used to remove other unwanted or unused vertex groups as weighting is finalised.
A number of vertex groups can’t be used and can be remove out-of-hand. In Object Data Properties select and entry in Vertex Groups [1] and click the Remove Vertex Groups [2] button (“-“).Weight Distribution
Typically, when a mesh is bound to the avatars skeleton the Toolkit automatically generates or transfers weight values based on the proximity of mesh structure to a given bone. It does this by approximation, so placement and groupings may not be exact, an effort that may be compounded by the clothing’s mesh density or topology. In other words, a structure that differs (more/less) [3] from the underlying avatar [4] will affect weight fidelity.
The difference in structure between clothing [3] and avatar [4] may affect how well weight values are transferred between skeleton/Armature and the clothing mesh – denser meshes do not immediately equate to better deformation or articulation when animated.Weight Transfer
Generally speaking vertex groups and weight values transfer without issue when Bind to Armature is used. Where they don’t, for example on multi-layered or complex clothing meshes, influences can be transferred directly from the avatars body parts or another mesh that might carry more accurate or detailed mapping. To do this, select the mesh weight values are to be copied from, then select the mesh this data is to be copied to, e.g. avatar torso then shift-click the sash. Change the editing context to Weight Paint [5] – the active mesh, the sash, will turn blue confirming the mode switch – then in the Weights [6] menu click Transfer Weights. In the Transfer Mesh Data [7] popup that appears lower left make sure;
- Data Type is set to Vertex Group(s)
- Create Data is checked
- Vertex Mapping is set to Nearest Vertex
- The remaining settings use the defaults
When switch back to editing the clothing item a set of vertex groups should then be available in Object Data Properties.
Aside: when using the approach to generating vertex groups assignments groups will be assigned relative to the source mesh, in other words, a clothing item that’s longer than the avatar torso will be missing group assignments from the legs. Unfortunately groups can only be transferred from one source and will be overridden if another one is selected and its data is copied. The workaround for this situation is to duplicate all the body parts that weights should be transferred from, join them together forming a single mesh (perform a Merge by Distance), and then use transfer as described above.
An alternative to Bind to Armature is to use Transfer Weights. Select the source and destination mesh, switch to Weight Paint mode [5] before clicking Transfer Weights in the Weights menu [6]. Make sure Vertex Group(s) [7] is set as the Data Type.


Timestamps
Times are approximate;
– 00:00 : Intro & Prep
– 03:30 : Clothing Setup
– 06:00 : Paint Weights
– 11:30 : Delete Vertex Group
– 13:30 : Fixing Clipping
– 19:00 : Export & Studio Assembly
