Install Blender 4.2 LTS on MacOS (MacBook Pro/Air etc.)
Table of Contents
Description
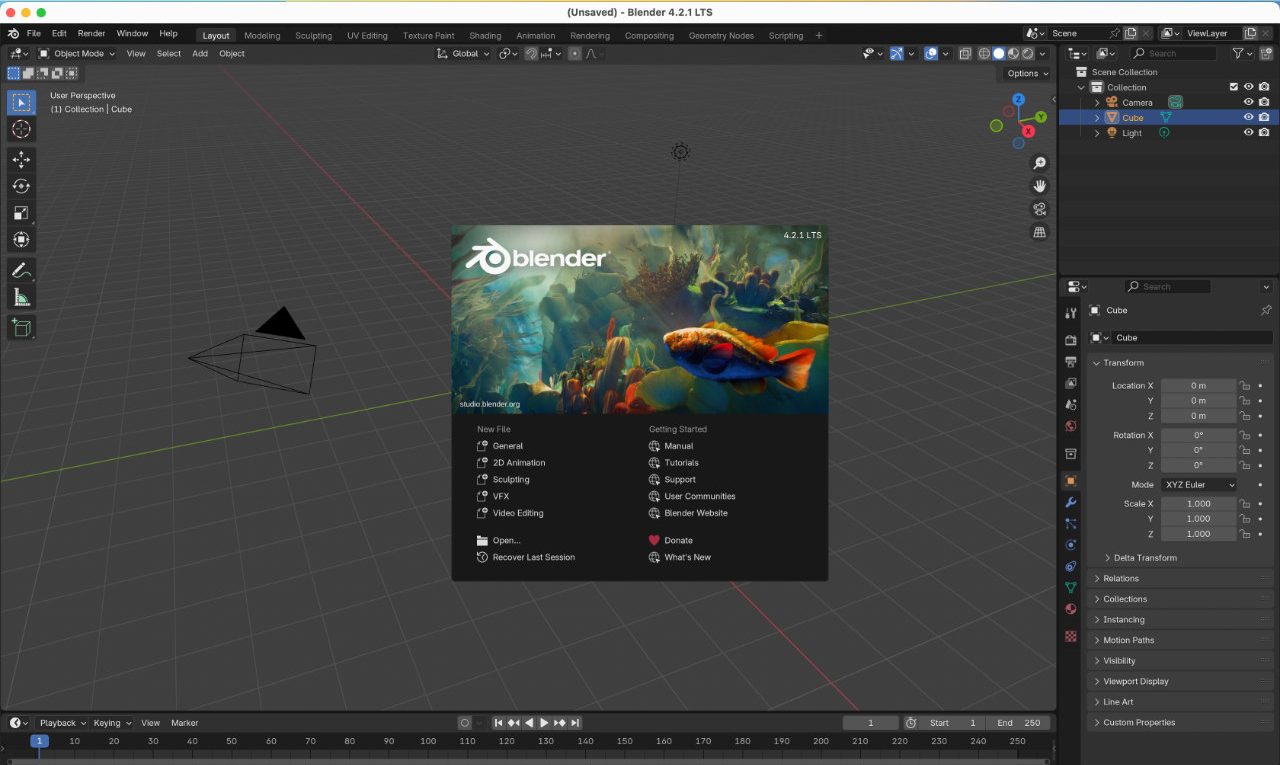
The process of installing Blender 4.2 LTS (Long Term Support) to a MacOS computer – Mac Book/Pro/Air. On the Blender.org download page be sure to select the correct version of the app that’s compatible with the Mac devices its to be installed to; either Intel or the Apple Silicone. Once downloaded (double) click the installer and drag the app into the Applications folder. (Double) click the Applications folder, find the newly installed app and (double) click the icon to start – upon first start the app will be verified and a ‘security’ warning will appear.
Design note: some additional information to keep in mind when installing Blender 3D onto a MacOS computer or device;
Type of Mac Device
To find out which type of Mac device Blender is being installed to, click the Apple icon upper-left corner and click About this Mac [1]. The panel that appears lists basic device details, including the processor [2], matching the available app versions of Blender; Intel or Apple Silicone (‘M’ series or ‘ARM’). Alternatively, click System Settings… [3] and in the window that appears, click General then About to see Processor [4] information.
To find out what type of Mac Blender is being installed to look [1] at About this Mac [2]…
… alternatively, in System Settings… [3] check About [4] to see the Processor listed.
Timestamps
Times are approximate;
– n/a


