Marvelous Designer to Blender (export/import)
Table of Contents
Description
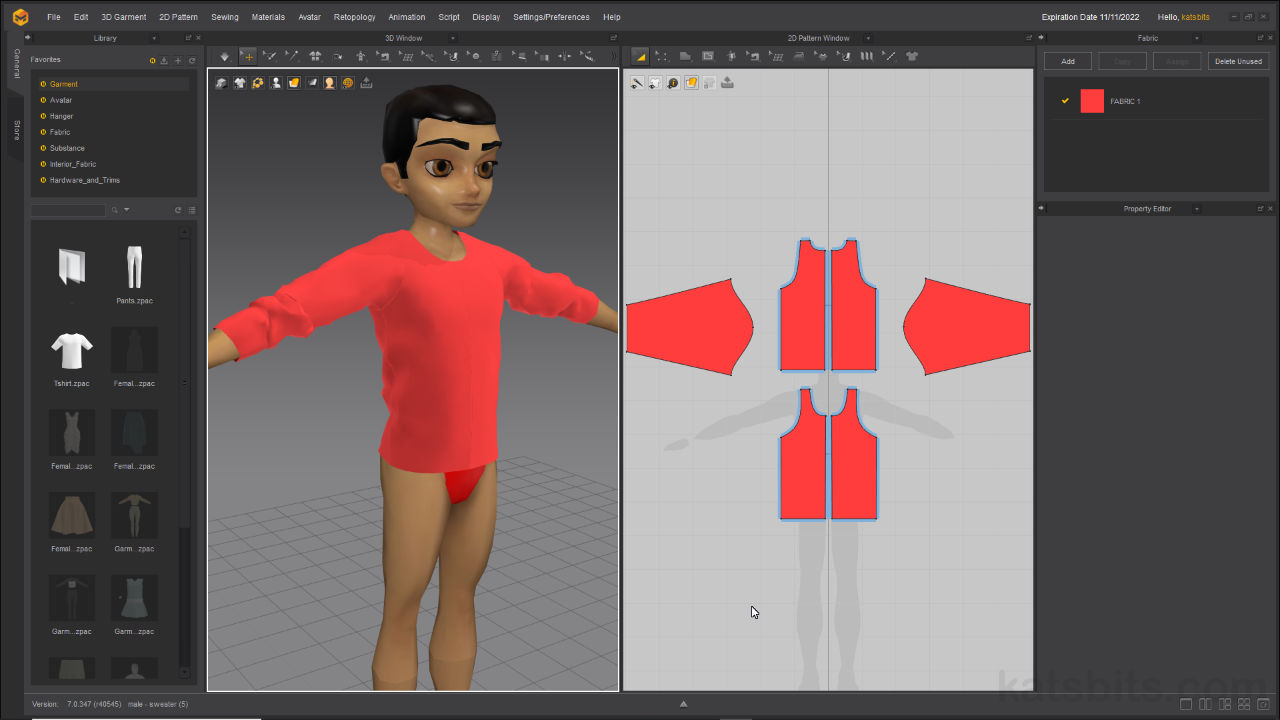
Exporting clothes created in Marvelous Designer so they can be imported into Blender 3D is relatively straightforward. Notwithstanding the design, first make sure items are prepped for export in Marvelous Designer by having at least one material assigned to all segments to be exported using the Fabric and Property Editor, and that each part if fully UV unwrapped and mapped using the UV Editor. Once this is done the patterns can be exported as a single, unified, object that can then be imported into Blender.
Duration: total c. 5 mins (00:05:00).
Info: 1080p.
Suitability: Beginner+.
Source: (see below).
Product ID: n/a.
Download: ZIP files include both male and female avatars plus textures;
• Avatar Starter Files | c. 1.5 MB.
• Marvelous Designer *.zprj and *.avt files | c. 2 MB.
Design note: it’s preferable for patterns to be assigned a material to ensure proper export and import. To do this, select a pattern and in the Fabric editor highlight the entry shown in the list e.g. FABRIC 1 (Default) [1]. In the (context sensitive) Property Editor below change the material basic characteristics, for example click the Color [2] selector in the Material subsection to change the materials colour and thus any pattern section that instance is applied to. To assign more materials click the Add [3] button to create a new instance then select the pattern section to which its to be assigned, in the Property Editor change the Fabric [4] assignment in the Fabric subsection, clicking the new material from the selection list.
Clothing meshes in Marvelous Designer should have at least one material assigned [1], and for ease-of-use, this should be coloured for clarity [2] – this tints the image baked during export.
Multiple materials can be assigned to clothing meshes in Marvelous Designer and if not complicated should at least be colour tinted for ease of recognition; just click the Add [3] button then Assign or link the new instance with the selected segment changing the Fabric [4] association.For ease of export and later editing in Blender, in the UV Editor [5] position UVs so each segment, as defined by the clothing items design and construction, occupies its own quadrant of the UV Editor. In addition, align the islands so they’re also centred within their respective areas as this determines UV placement and mapping of the mesh in IMVU and minimises the amount of prep needed in Blender. To do this switch the 2D Pattern Window to the UV Editor selecting that option from the ‘window type’ drop-down menu [5]. Segment UVs will initially be atop each other, so select in-turn and move into position [6]. Toggle back to the 2D Pattern Window when done.
Editing UV maps using the UV Editor in Marvelous Designer – switch to the editor [5] and move the UV panels into position so each major segment occupies its own area [6] of the workspace.When exporting meshes from Marvelous Designer make sure to select all the elements that are supposed to be included in the resulting file [7], typically from within the 2D Pattern Window – note that export success is not necessarily dependant on pattern layout in the 2D Pattern Window as Marvelous Designer will ‘stitch’ all the elements together, forming a coherent mesh on export.
Segment layout [7] in the 2D Pattern Window doesn’t determine the mesh as the export process stitches everything together during output, meaning placement does not necessarily need to make sense looking at the Pattern Window.
Timestamps
Times are approximate;
– n/a


