Minecraft Room for Nowhere – Texture Painting
Table of Contents
Description
Following on from part one where we take a look at making a simple Minecraft style Space (room/scene) for Nowhere. In part II we use Blenders in-built tools to edit and improve the textures assets assigned to the world, namely using Texture Paint to clean up the 16 x 16 Minecraft style images generated in Affinity Photo.
Duration: total c. 45 mins (00:45:00).
Info: 1080p.
Suitability: Beginner+.
Source: n/a.
Product ID: n/a.
Design note: a bit more information/explanation on some of the topics covered;
Shade Smooth
before updating and/or painting image assets it’s best to fix any mesh smoothing issues to ensure the discolouration associated with shading don’t confuse the painting process. This typically means ensuring Shade Smooth – Object » Shade Smooth – is enabled and that the Edge Split modifier [1] is assigned to each object with Edge Angle disabled. This then means smoothing needs to be defined by marking edges as sharp [2]; in Edit Mode select edges to be sharp or hard and from the Edge menu click Mark Sharp – Edge » Mark Sharp [3].
To fix issues with shading (not shadows) make sure an Edge Split modifier [1] is assigned to a mesh before highlighting [2] and flagging edges as Mark Sharp [3] to create clean edges.UVs & Texture Usage
Because the fence posts and beams were UV mapped to use one half of the wood texture the remainder can be painted to emulate what would be wood exposed from cutting the logs. Doing this however, might require the fence UVs to be edited to properly accommodate the change [4], the top and bottom being moved for example [5], the two halves of the posts body using the same section of the image. In the UV Editing workspace then, this can be done by selecting the corresponding UVs and using the manipulation tools to move and sort the UVs – at this scale UVs should naturally snap to pixels, using them as a grid of sorts.
Unwrapping the fence parts might ordinarily mean mapping the main body across the entire image [4]. Doing this doesn’t leave room for painting in the post ends…
… whereas if the body is essentially ‘halved’, that is front and back use the same section of the image, the end UVs [5] can be clearly mapped.Texture Paint
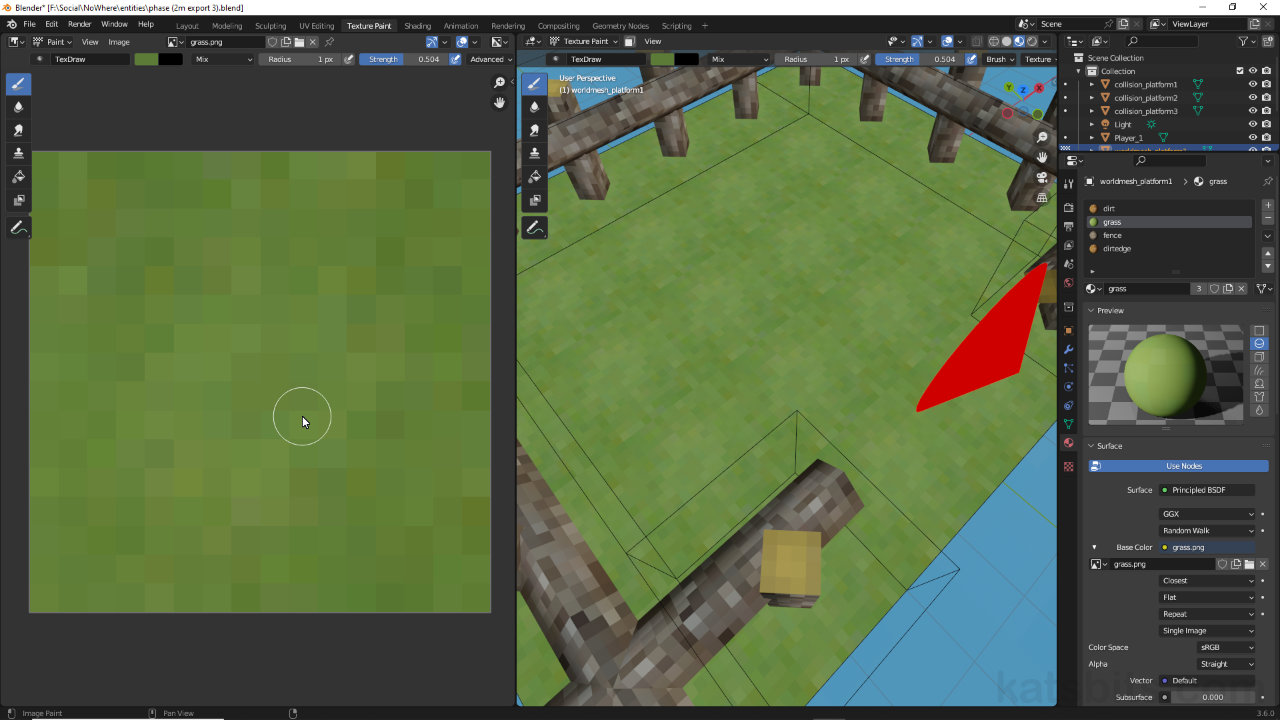
The Texture Paint environment can be used in two main contexts; when switched to from the default Layout or other ‘modelling’ mode, the paint editor will display the image texture [6] associated with the material selected in Material Properties [7] (the active material). Alternatively, when switching to Texture Paint workspace from UV Editing workspace, the editor will display the active material [8] with an overlay of the corresponding UVs [9] associated with the object that material is assigned to. Neither ‘display mode’ affects the painting process or tool.
Switching to Texture Paint workspace from Layout generally displays the image [6] associated with the active material [7]…
… whereas switching to Texture Paint from UV Editing typically shows the active material [8] and a UV overlay of the corresponding object.

![[descriptive alt image text here]](https://www.katsbits.com/images/tutorials/nowhere/texture-paint-uv-layout.jpg)
![[descriptive alt image text here]](https://www.katsbits.com/images/tutorials/nowhere/texture-paint-uv-optimised.jpg)


Timestamps
Times are approximate;
– 00:00 : Overview & Smoothing.
– 07:00 : Mesh Finishing.
– 10:00 : Texture Painting.
– 15:30 : Grass Trim & Dirt Assignments.
– 23:00 : Wood Posts & UVs.
– 27:00 : Grass & Tiling Artefacts.
– 32:00 : Mesh Updates.
– 41:00 : Nowhere Export.
