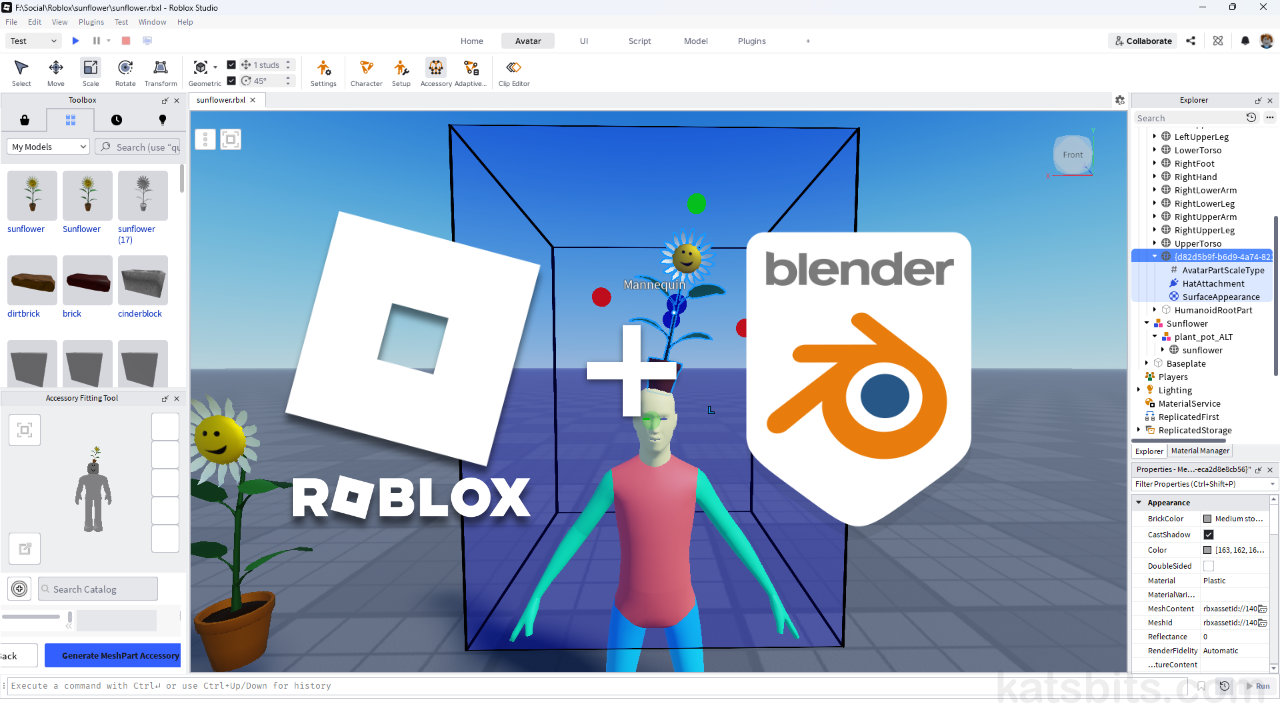
How to use Roblox Accessory Fitting Tool
Table of Contents
Description
To publish an Accessory or attachment to Roblox Marketplace products must be assembled using the Accessory Fitting Tool, not because this is the only way to make an accessory for Roblox, rather because the Tool verifies the resulting game object and ensures compliance with Roblox Creator submission and product guidelines. The following walks through that process.
Duration: total c. 20 mins (00:20:00).
Info: 1080p.
Suitability: Beginner+.
Source: n/a.
Product ID: n/a.
Roblox Avatar
Making content for Roblox is best done with an avatar reference that can be exported from Roblox Studio and imported into Blender. See “How To Import Roblox Avatars Into Blender” for extensive details on this process.
See “How To Import Roblox Avatars Into Blender” for Roblox/Blender export/import details.Tool vs. Explorer
As briefly mentioned in the description, the Accessory Fitting Tool is not specifically necessary to create an accessory or attachment item for Roblox as they can be assembled manually in the project Explorer. This is generally done for items used within an experience. To upload and make accessories available in Roblox Marketplace, accessories must be set up using the Accessory Fitting Tool as the process doing more than just assembling items; during set up the tool inserts a non-editable data schema that’s used to verify (read: applies a ‘security layer’) and categorise items for sale – scripts, triggers and other potentially harmful material is stripped to prevent the publication of malware or other forms of malicious content.
Blender Mesh Prep
Before export from Blender ensure the accessory mesh is prepped for use. Typically this might mean (in no particular order);
• Model in-situ, re-centre at 0,0,0 for export
• Scale relative to avatar
• Apply all transforms (Ctrl + A)
• Triangulate mesh (Ctrl + T)
• Turn edges (optional)
• Reset/set object Origin (Object » Set Origin » [option])
• Single UV Map per object
• Single Texture atlas per object
• Optimise meshes
• Export to glTF or FBX for complex models, OBJ for simple diffuse only (no PBR)Design note: Roblox mesh prep… [more]
As part of the preparation process objects should have a single UV mapped to a single image/texture atlas.Image Format
Blender can use any number of image formats interchangeably, even within the same project. For export to Roblox however, images should be swapped out for compatible formats to avoid Roblox Studio import issues. Supported formats are JPG, PNG and WebP. This applies to single diffuse only materials, or materials that use PBR (Physically Based Rendering) texture maps, i.e. normal, roughness, metallic etc.
Important: normal maps and compression… [more]
Using GIMP to (re)save a TGA image as a lossless WebP image.Vertex Colours
Models exported for Roblox can be painted with vertex colours (vertex colors) in Blender and exported without issue. In Roblox however, their use is subject to a rendering limitation; vertex colours and images are not, by default, blended together if they’re part of the same material as they can be in Blender through the the Mix Color shader. The option to include vertex colours, without using a custom shader, is either/or; either the mesh is painted in full using vertex colours, or the mesh is textured using a bitmap image.
Alert: Roblox Marketplace & item validation… [more]
Design note: vertex colours and export… [more]
Important: vertex colours rethinking meshes… [more]
Model painted entirely using vertex colours in Blender that, while exportable, can’t blended with an image without a custom shader.Safe Zone Volume
During set up, as the Accessory Fitting Tool proceeds through the process, a fitting phase is presented that displays a semi-transparent volume around the attachment point previously established. This is a safe zone, an area meshes must remain or be contained within. anything outside this invalidates the game object. This determination, whether something is inside or outside, valid or invalid, is not determined by the model itself, the object visible to the user. It is instead determined by the models overall Bounding Box.
Important: bounding boxes vs. volumes… [more]
In practice this means that if the object is manipulated off-axes, or in a way that changes the orientation of the Bounding Box, any part of that that pokes through the safe zone, will invalidate the accessory despite the visible mesh appearing to be inside.
CRITICAL: if an object needs to be repositioned, scaled or adjusted after the Accessory entity has been created, delete and remake it rather than attempting to adjust the model after-the-fact as this may invalidate the entity.Alert: accessories vs clothing items… [more]
The green outline approximates the objects overall volume, as defined by its Bounding Box, which pokes through the ‘safe zone’ because the model has been rotated off-axis, invalidating the accessory.


Timestamps
Times are approximate;
– 00:00 : Model Prep & Export
– 05:00 : Roblox Import
– 07:00 : Accessory Tool
– 10:00 : Bounding Box Issues
– 13:00 : Accessory Test
– 16:00 : Summary/Recap
