Model Terrain Game Assets For Maps in Blender 2.49
Nearly 3 hours of video walking through of the process of using Blender 3D to create low poly terrain object models for games that support the creation and input of user made content.
Although the final models are for use in id software’s games, the general usage of Blender to model objects is the same as it would be for other games; basically the general principles should hold true of any low poly modelling for any game that supports it.
Before beginning it’s essential to keep a list of Blender’s shortcut keys to hand, which you can find at the following link. having these to hand make working with Blender much easier.
Download: Download the keyboard shortcut chart.
This first series of video tutorials walk through the process of building the basic terrain mesh object, from using the default scene as a basis from which to start, to editing, extruding and building up the basic shaped profile of a terrain section. Once this is done, the modelled object is then textured, UVW mapped, prepping for and then exporting to ASE using Goofos’s ASE exporter for Blender v2.41.
Creating the basic model mesh
Part 1 – Creating the basic mesh
The default scene mesh object in Blender 3D is a cube. Although this part of the tutorial starts with that, any shape (mesh ‘primitive’) can be used; which one will depend on the object the primitive will eventually become.
A fundamental tool used at that this early stage of sculpting the mesh is the loopcut tool; Ctrl+R. This tool allows you to make ‘parallel’ cuts across faces and edges which follow the contours or mesh ‘flow’ of a model; cut next to an edge and the loopcut tool will follow that edge along the contour until it either loops around the model and back onto itself, or, until it hits a ‘termination point’ caused by the distribution of the polygons it’s following.
It’s initial placement on the mesh appears as a PINK guide line which wraps around the model as best it can, this lets you set the ‘orientation’ across faces the cut will take – you can flip from the horizontal to vertical by simply moving the mouse over various faces/edges.
Once happy with the cut direction, left click to initialise ‘cut’ mode causing the guide link to turn YELLOW. Depending on the initial orientation, the yellow guide line can then be moved left/right or up/down simply by moving the mouse around, clicking or pressing ‘Return/Enter’ will confirm the move and cut the mesh along the deciding line.
Right clicking the mouse will cancel the operation and should there be a need to ‘undo’ the cut simply press ‘U’ whilst still in edit mode.
Keyboard shortcuts used;
- ‘S‘ = size/resize
- ‘G‘ = Grab/Move
- ‘R‘ = Rotate
- ‘E‘ = extrude
- ‘Ctrl+R‘ = loopcut
General user actions;
- Left mouse button – ‘set’ an action
- Right Mouse button – ‘select’ (or cancel if in the process of an ‘action’)
- Middle mouse button – manipulate the viewport.
Applying materials
Part 2 – Applying materials
For models to work properly when imported in to a game as a custom object, they tend to need a ‘base’ material – essentially the equivalent to a coat of ‘primer’ painted on to an object; textures are the ‘top coat’.
For some models, like the terrain example in the tutorial videos, you can use multiple materials, which also serve an additional function of helping to define similar areas of a mesh which will eventually be UVW mapped with the same texture.
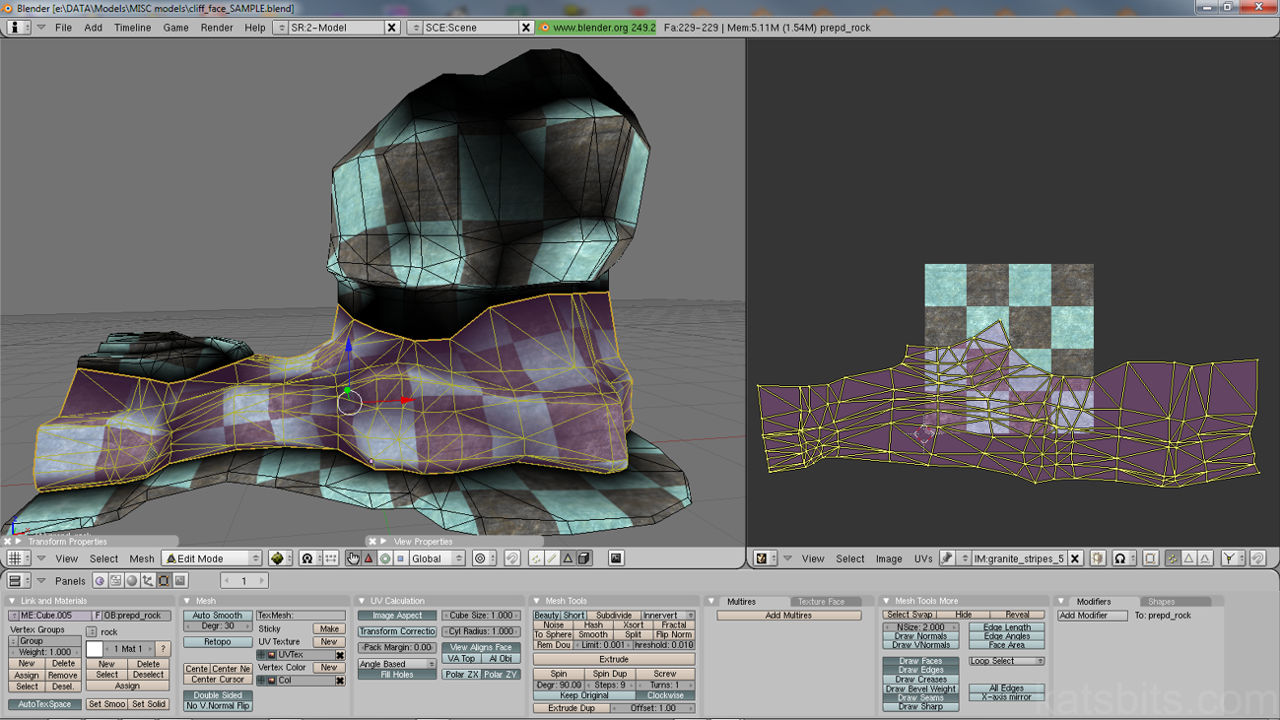
Texturing and UVW mapping
Part 3 – Texturing and UVW mapping
A useful feature of Blender when doing certain things is the ability to split the screen up and change the layout. Right click on the border of a view to open the pop up that will enable the screen to either be ‘split’ in half, or connected to it’s neighbour. Doing this when UVW mapping is useful so you can see what the applied textures look like on the mesh.
Keyboard shortcuts used;
- Alt+Z = change render mode – shaded/textured.
- ‘F‘ = face select/UVW map mode.
- ‘U‘ = open the UVW map ‘type’ dialogue.
Creating ‘smooth groups’
Part 4 – Creating smooth groups
Smooth groups don’t work the same way in game as they do in 3D applications, you have to ‘force’ the creation of ‘zones’, each of which has an edge composed of a separate set of vertices from it’s neighbour; basically each ‘group’ needs to be split from the parent mesh so that it becomes a ‘sub-mesh‘ and not a ‘sub-object‘ (separate object to the parent mesh, i.e. it can’t be selected when working on the original parent mesh).
Keyboard shortcuts used;
- ‘Y‘ in edit mode to ‘split’ mesh.
Additional reading
Further editing
Part 5 – Further editing
Additional editing once the basic ‘sculpt’ has been done and the form defined.
Finishing up
Part 6 – Finishing up
Finalising the ‘sculpt’ of the object.
Vertex Painting
Part 7 – Vertex Painting
Vertex Painting is an essential component of terrain that needs texture blending in Doom 3 or Quake 4. You can also ‘colour’ models slightly for use in Quake 3 where the colour applied to the mesh will ‘tint’ the rendered model in game.
‘Soften’ low poly edges
Part 8 – Soften low poly edges
Low poly models suffer from the same inherent problem when it comes to ‘sharp’ corners and how smoothgrouped lighting reacts to them. It’s often the case that a few additional polygons need to be added to such edges to ‘soften’ them and allow smoothgroup related lighting better distribution over surfaces.
Adjusting UVW maps
Part 9 – Adjusting UVW maps
Often after working on sections of a mesh the UVW maps will need to be redone, not a big deal when using Blender 3D’s LSCM unwrap feature. It’s sometime quicker to just unwrap the whole mesh again instead of trying to fiddle with the UVW map an readjust parts of it.
Triangulation
Part 10 – Triangulation
Computer games can’t read ‘quads’, the common ‘format’ used by 3D modeling programs. This usually means that the entire model has to be converted, or broken down’ into it’s constituent triangular polygon components.
Activating a materials VCol
Part 11 – Activating a materials VCol
Depending on which version of Goofos’s ASE export script your using, VCol may need to be activated for each material assigned to the model. Without this vertex painting information is not exported out with the ASE file.
Applying Rot/Size
Part 12 Apply Rot/Size
‘Apply Rot/Size‘ to selected objects as a group or individual units is important to do because games get their positional information about how to present and render an modeled object from it’s ‘POO’ – Point Of Origin. Sometimes it needs to be fixed so that basically the objects reads as being on the ‘0,0,0’ (XYZ) grid centre point.
Exporting to ASE
Part 13 – Exporting to ASE
The simplest way to export to a format of choice is to load a *.py Python script into a text window. From there you can use the keyboard shortcut of Alt+P to ‘run’ the script. Goofos’s ASE script will export a complete scene if nothing is selected, or individual objects if they are.
Additional information;
- Goofos’s ASE script – check version before use.
Save as
Part 14 – Using ‘Save As’
‘Save As‘ isn’t normally the last thing to do when working on a model, you should basically be saving incremental version of the files as you work on it; a basic rule of thumb to follow is that every time you do or add something ‘major’ to the model create a ‘backup’ of the file at that point. This obviously offers you a point to return to should you not be happy with the direction the new additions take.

