Make A Column/Pillar From Patch Meshes In Radiant #3 – Optimisation
For the experienced field operative there is another way to do this from one single patch mesh by ‘adding’ extra rows to the mesh and making it thicker.
Once you have created your basic cylinder from a brush add more ‘rows’ to it; "menu: curves > insert > insert (2) rows".
Design note : if you ‘insert (2) rows’ it will add the rows to the top half of the mesh. If you ‘add (2) rows’ it will add the rows to the bottom half of the mesh.
To make it easier to manipulate the vertexes on a mesh created like this, re-disperse the vertex points (this spreads them equidistant across the mesh). Shortcut "Ctrl+E" or "menu: curve > matrix > re-disperse > row".

Patch mesh with addition ‘rows’
Why not use this method all the time?
You can once you get a handle on how to manipulate the control vertices, it can be a little tricky on a single patch with this many of them, just model the mesh in the same way as before by pulling the centre control points outwards until you have the desired shape.

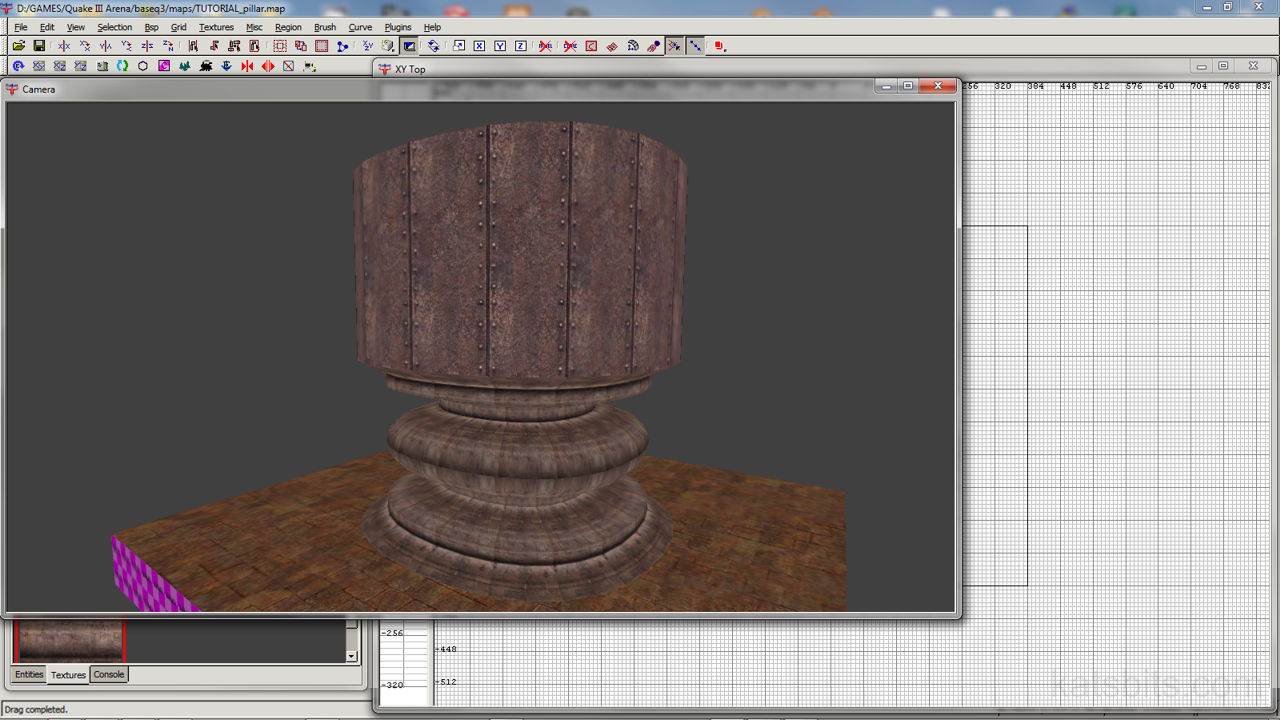
A single patch mesh after vertex manipulation
If you count the mesh rows and columns there are exactly the same number in one single mesh, like the above, as there are in two ‘joined’, as shown previously, the in-game polycount is the same for both methods of patch mesh modelling.
[1: Patch Mesh Basics | 2: Multiple Meshes | 3: Advanced Patches | 4: Pillar Support]

